
Smart homes are getting a major heating upgrade, and graphene heating systems are leading the charge. This revolutionary heating technology is transforming how homeowners heat their spaces with unprecedented energy efficiency and smart capabilities.
This guide is for smart home enthusiasts, eco-conscious homeowners, and anyone curious about cutting-edge heating solutions that could slash energy bills while boosting comfort.
We’ll explore what makes graphene such a game-changing material for heating applications, from its lightning-fast heat distribution to its paper-thin flexibility. You’ll discover how these energy efficient heating solutions integrate seamlessly with existing smart home automation systems, offering remote control and intelligent temperature management. We’ll also cover the enhanced safety and health benefits that set graphene apart from traditional heating methods, plus the versatile ways you can use this future heating technology throughout your home—from underfloor systems to heated surfaces and beyond.
What Makes Graphene a Revolutionary Heating Material
Ultra-thin carbon structure delivers 200x steel strength
Graphene heating systems represent a breakthrough in material science, featuring an ultra-thin carbon structure that delivers extraordinary mechanical properties. Despite being only one atom thick, graphene exhibits remarkable strength characteristics that surpass traditional heating materials by orders of magnitude. This exceptional strength-to-weight ratio makes graphene an ideal foundation for revolutionary heating materials that can withstand the demands of daily use while maintaining optimal performance.
The atomic structure of graphene consists of carbon atoms arranged in a hexagonal lattice, creating a two-dimensional material with unprecedented durability. This unique configuration allows graphene heating elements to maintain their integrity even under stress, ensuring long-lasting performance in smart home heating technology applications. The material’s exceptional mechanical properties eliminate concerns about wear and tear that typically plague conventional heating systems.
Superior heat conductivity enables instant warming
The thermal conductivity of graphene ranges from approximately 2000-5000 W/mK at room temperature, making it one of the most thermally conductive materials known to science. This exceptional heat conductivity far exceeds that of traditional heating materials, with graphene demonstrating thermal conductivity values of ~4000 W m⁻¹ K⁻¹ in most applications.
Energy efficient heating solutions benefit tremendously from graphene’s superior heat transfer capabilities. The high thermal conductivity enables instant heat distribution across the entire heating surface, eliminating cold spots and ensuring uniform temperature control. Research has shown that graphene’s thermal conductivity increases logarithmically with sample size, suggesting that larger graphene heating panels could theoretically absorb and transfer unlimited amounts of heat.
The material’s high Seebeck coefficient and figure of merit make it exceptionally efficient at converting electrical current to heat, contributing to the overall energy efficiency of graphene heating systems. This superior thermal performance translates to faster heating response times and more precise temperature control in smart home environments.
Flexible design integrates seamlessly into any surface
Graphene’s remarkable flexibility sets it apart from rigid traditional heating elements. The material can be integrated into virtually any surface without compromising its heating performance or structural integrity. This flexibility opens up unprecedented design possibilities for smart home automation heating systems, allowing heating elements to be incorporated into walls, floors, ceilings, and even curved surfaces.
The two-dimensional nature of graphene enables it to conform to complex geometries while maintaining its exceptional thermal properties. This adaptability makes graphene heating technology ideal for smart home energy efficiency applications where traditional bulky heating systems would be impractical or aesthetically undesirable.
Recent developments have led to graphene-based heating paints that can be applied like regular paint, creating invisible heating systems that blend seamlessly with interior design. These innovative applications demonstrate graphene’s versatility as a heating material that can be customized for any smart home configuration.
Safe operation prevents overheating and hot spots
Graphene heating safety is enhanced by the material’s inherent ability to distribute heat evenly across its entire surface. The exceptional thermal conductivity prevents the formation of dangerous hot spots that commonly occur with conventional heating elements. This uniform heat distribution significantly reduces fire risks and ensures safer operation in residential environments.
The material’s thermal management properties include rapid heat dissipation capabilities that prevent overheating scenarios. Studies have shown that graphene-based thermal management systems achieve heat transfer coefficients of approximately 6.83 kW/m²·K, enabling effective temperature regulation and preventing dangerous temperature spikes.
Future heating technology benefits from graphene’s stable thermal behavior, which maintains consistent performance without the temperature fluctuations associated with traditional heating methods. The material’s ability to quickly respond to electrical input changes allows for precise temperature control, preventing overheating while maintaining optimal comfort levels in smart home environments.
Energy Efficiency Advantages of Graphene Heating Systems
Reduced electricity consumption lowers utility bills
Graphene heating systems deliver remarkable energy efficiency advantages, with certified studies demonstrating up to 40% reduction in energy consumption compared to traditional electric radiators. This revolutionary technology achieves an average power consumption of only 35 W/m² while maintaining surface temperatures exceeding 110°C, making it ideal for heating buildings with minimal power requirements.
The exceptional thermal conductivity of graphene enables these systems to operate at significantly lower power levels than conventional heating methods. Laboratory tests conducted by the University of Genoa confirmed that graphene heating technology not only matches the performance of heat pumps but surpasses them in terms of installation and maintenance costs, providing homeowners with substantial long-term savings on their utility bills.
Fast heating response minimizes energy waste
Unlike traditional heating systems that require extended warm-up periods, graphene heating systems respond instantly to current variations through the Joule effect. This rapid response capability eliminates the energy waste typically associated with lengthy heating cycles, as the system can quickly adjust to temperature demands without overconsumption.
The quick response time means homeowners can heat spaces on-demand rather than maintaining constant temperatures, leading to more efficient energy usage patterns. This instantaneous heating capability allows for precise temperature control, preventing the energy losses common in systems that must run continuously to maintain comfortable indoor conditions.
Uniform heat distribution eliminates cold zones
Graphene heating technology ensures stable thermal distribution without stratification, effectively eliminating cold spots that plague conventional heating systems. The system radiates heat uniformly across surfaces, creating consistent temperature zones throughout the space without the uneven heating patterns typical of traditional radiators or forced-air systems.
This uniform distribution means every area receives adequate heating without requiring additional energy to compensate for cold zones. The technology’s ability to provide consistent heat across all surfaces reduces the overall energy needed to maintain comfortable temperatures, as there’s no need to overcompensate in certain areas to achieve uniform comfort levels.
Eco-friendly operation reduces carbon footprint
The energy efficiency of graphene heating systems directly translates to reduced carbon emissions, aligning with European and national energy transition goals. By consuming 40% less electricity than traditional electric heating methods, these systems significantly lower the environmental impact of home heating while supporting decarbonization efforts.
The technology operates through long-wave infrared radiation, a low-energy, non-harmful form of heat emission that doesn’t rely on heating air but instead acts directly on surfaces and objects. This efficient heat transfer method requires less energy input while providing superior comfort, making it an environmentally responsible choice for smart home heating solutions.
The absence of mechanical components means zero maintenance requirements, eliminating the environmental impact associated with regular system servicing and component replacement typical of conventional heating systems.
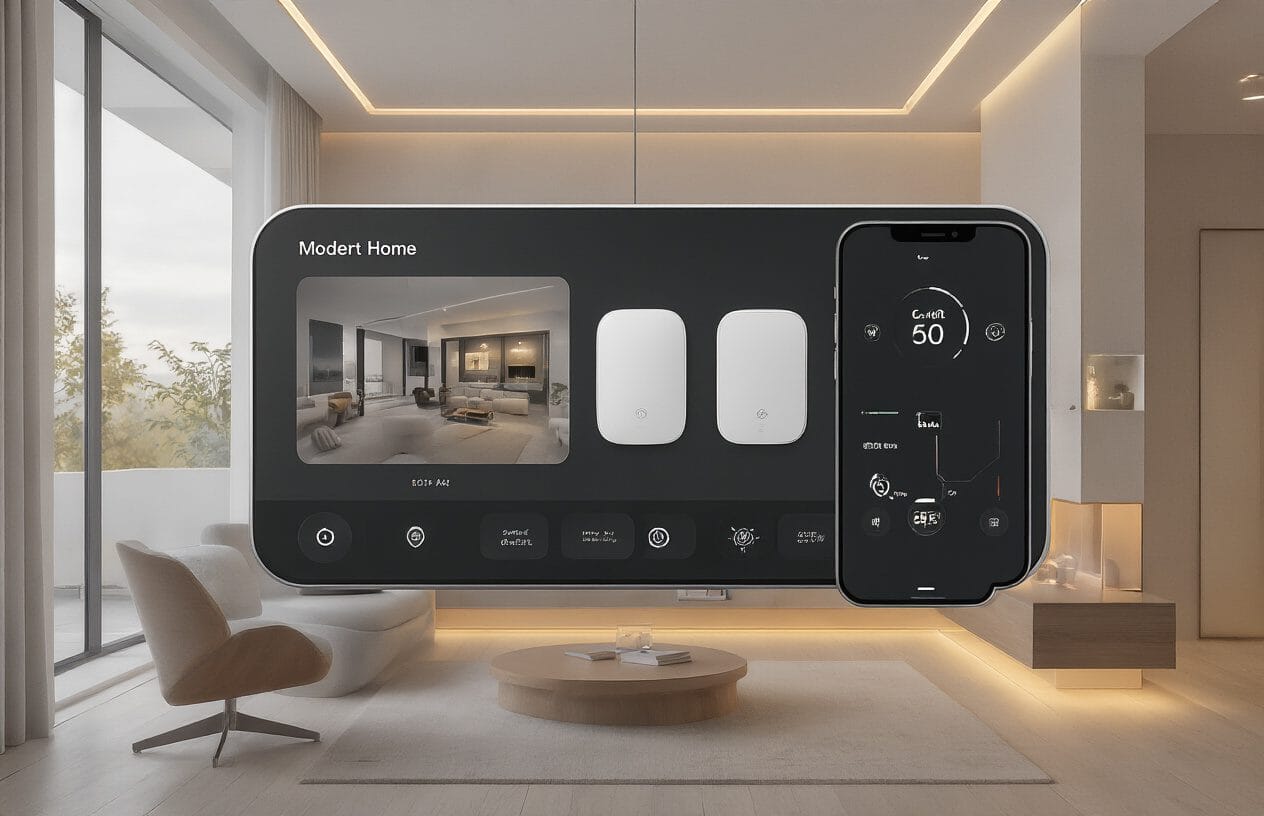
Smart Home Integration Capabilities
Voice-controlled heating through AI assistants
Graphene heating systems seamlessly integrate with popular AI assistants, enabling homeowners to control their environment through simple voice commands. This integration leverages graphene’s rapid response capabilities, allowing for immediate temperature adjustments when users speak to devices like Alexa, Google Assistant, or Siri. The graphene sensors can detect minute environmental changes and communicate this data to smart home ecosystems in real-time, creating a responsive heating experience that adapts instantly to voice instructions.
The multifunctional nature of graphene sensors allows a single device to monitor temperature, humidity, and air quality simultaneously, providing comprehensive data to AI systems. This rich data stream enables more intelligent automation, where voice commands can trigger complex heating scenarios based on current environmental conditions and user preferences.
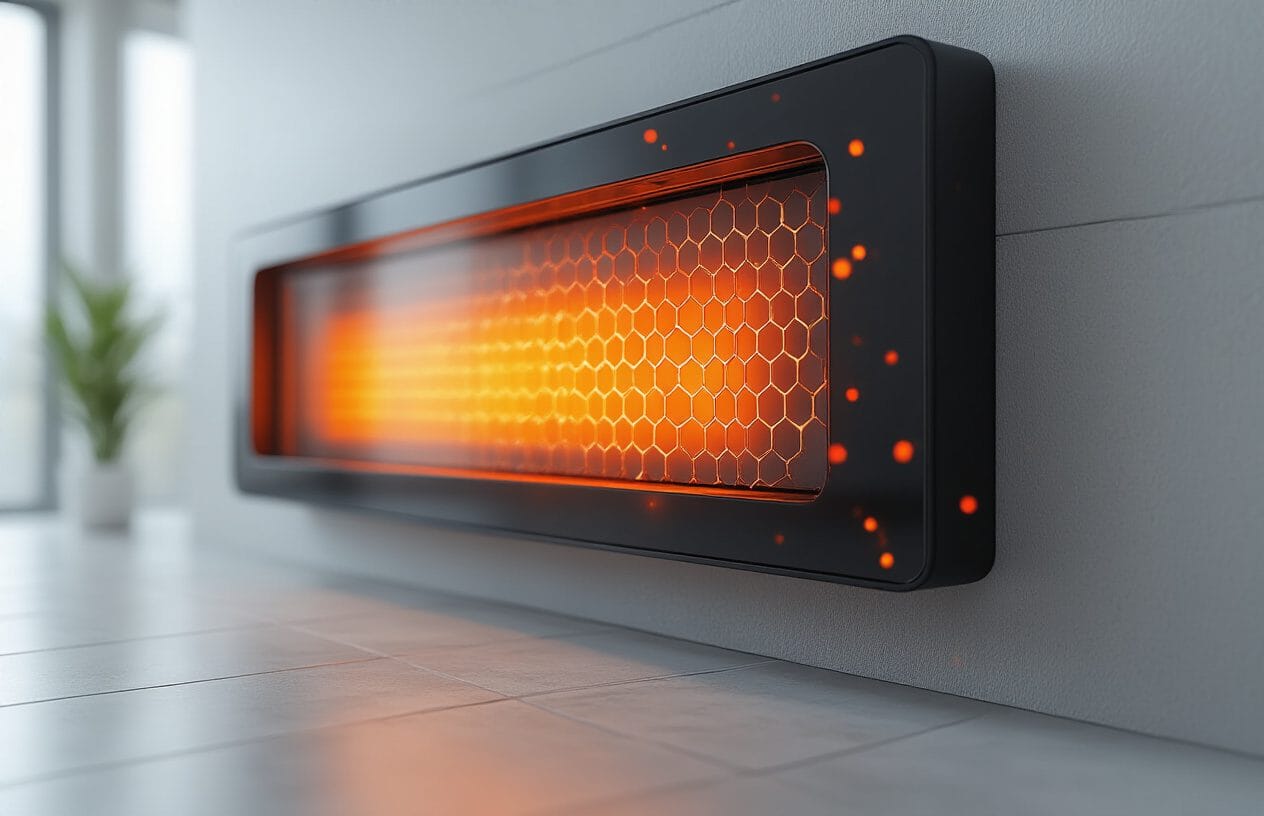
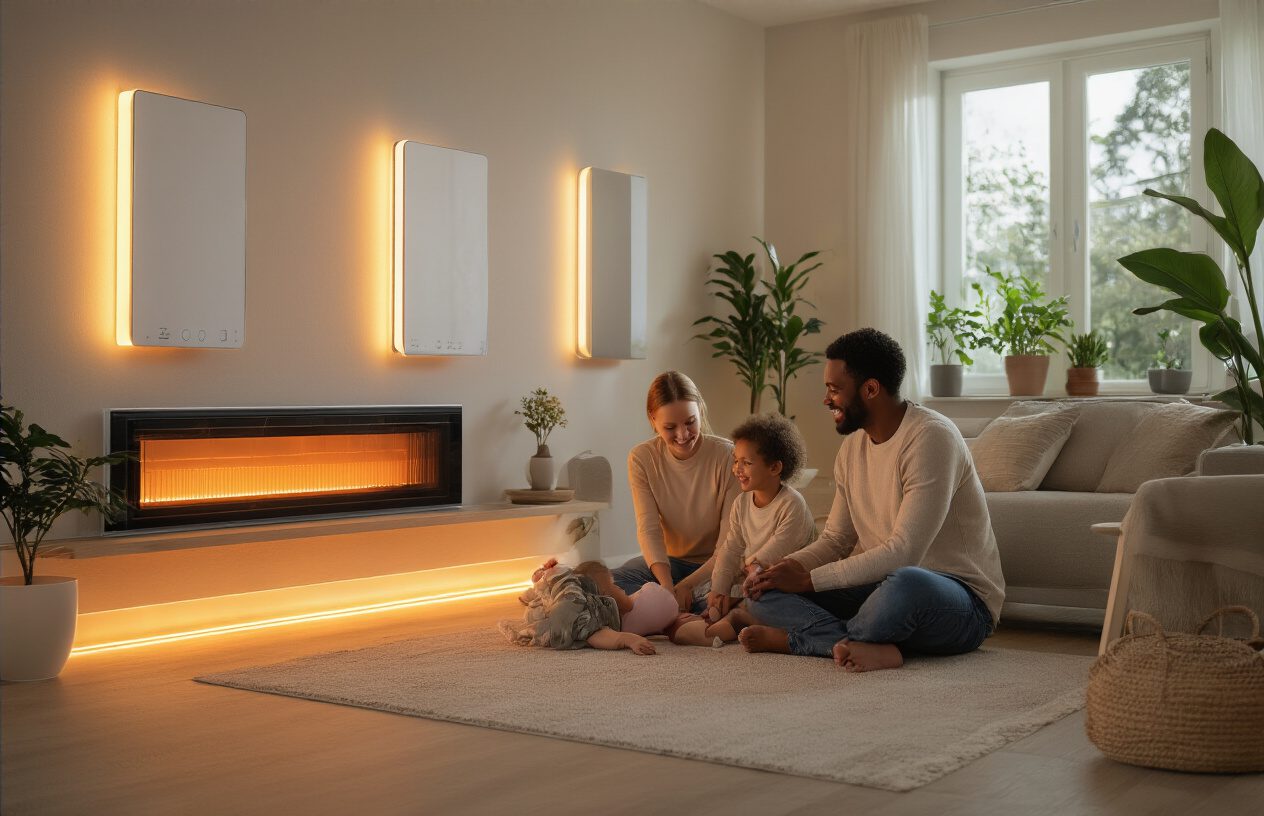
Thin profile allows invisible installation in walls and floors
The atomic-scale thinness of graphene heating elements represents a revolutionary advancement in smart home design. Unlike traditional heating systems that require bulky components and visible installations, graphene’s flexible and ultra-thin properties enable completely invisible integration into walls, floors, and ceilings. This compact design allows for seamless installation without compromising the aesthetic appeal of modern smart homes.
The flexibility and durability of graphene make it perfect for integration into various architectural elements. Homeowners can enjoy consistent, efficient heating without visible radiators, ducts, or other traditional heating infrastructure cluttering their living spaces. This invisible installation capability transforms how we think about heating design, allowing architects and interior designers complete freedom to create beautiful spaces while maintaining optimal comfort through hidden graphene heating technology.
Automated temperature control responds to occupancy
Graphene’s exceptional sensitivity enables sophisticated occupancy-based heating control that surpasses traditional systems. The material’s ability to detect minute changes in environmental factors allows smart home systems to automatically adjust heating based on room occupancy, movement patterns, and individual comfort preferences. These sensors provide highly accurate measurements with rapid response times, ensuring immediate detection and action when spaces become occupied or vacant.
The multifunctional monitoring capabilities of graphene sensors enable comprehensive environmental awareness. A single graphene sensor can simultaneously monitor temperature, humidity, and detect human presence through various parameters, providing smart home systems with detailed occupancy data. This information allows for predictive heating adjustments, where systems can pre-heat spaces based on learned occupancy patterns and user habits, optimizing both comfort and energy efficiency.
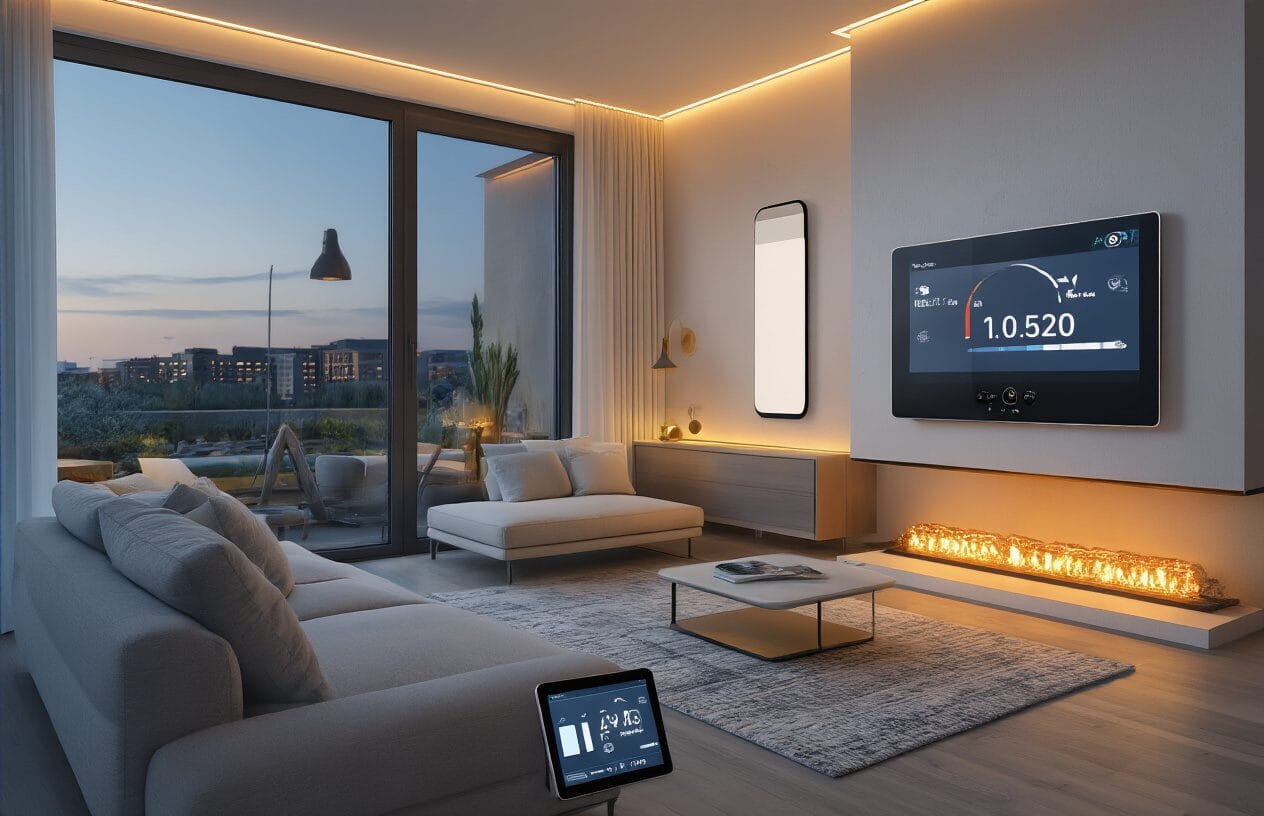
Remote monitoring and adjustment via smartphone apps
Smart home integration capabilities extend to comprehensive mobile control through smartphone applications. Graphene heating systems connect seamlessly to IoT ecosystems, enabling real-time data sharing and advanced automation through dedicated mobile interfaces. Users can monitor and adjust their heating systems from anywhere, receiving instant feedback on temperature changes, energy consumption, and system performance.
The integration with mobile applications allows for sophisticated scheduling and personalized heating profiles. Users can create custom heating scenarios based on daily routines, weather conditions, or special events, all controlled through intuitive smartphone interfaces. The rapid response time of graphene sensors ensures that remote adjustments take effect immediately, providing users with instant control over their home environment regardless of their physical location.
Advanced mobile integration also enables predictive analytics and personalized smart home experiences. The smartphone apps can learn from user behavior patterns and automatically suggest optimal heating schedules, energy-saving opportunities, and maintenance reminders, creating a truly intelligent heating management system that evolves with the homeowner’s lifestyle and preferences.
Enhanced Safety and Health Benefits
Far-infrared radiation provides gentle, therapeutic heat
One of the most significant health advantages of graphene heating systems lies in their ability to produce far-infrared radiation. Unlike traditional heating methods that rely on convection currents, graphene heating film generates therapeutic heat that can penetrate the skin directly. This far-infrared radiation stimulates blood circulation throughout the body, promoting enhanced metabolism and providing natural pain relief benefits.
The therapeutic properties extend beyond simple warmth, as this gentle heat penetration can help improve immunity and overall wellness. For smart home residents seeking both comfort and health benefits, this represents a revolutionary advancement in heating technology that transforms everyday warmth into a wellness experience.
No risk of electrical fires or overheating
Smart home heating technology achieves remarkable safety through graphene’s self-limiting temperature function. This critical safety feature allows graphene heating systems to regulate their own temperature automatically, preventing dangerous overheating scenarios that plague traditional electric heating methods. Even when temperature controllers fail, the graphene material maintains safe operational parameters without local overheating.
This contrasts sharply with conventional electric wire heating systems, which pose significant fire hazards when wires become damaged or poorly insulated. Traditional electric heating elements can overheat catastrophically, but graphene heating applications eliminate these risks entirely. The material’s inherent properties ensure that hot spots cannot develop, making it impossible for the system to reach temperatures that could cause burns or fire damage.
Operating at low voltage while maintaining high thermal efficiency, these energy efficient heating solutions provide peace of mind that traditional systems cannot match.
Improved air quality without dust circulation
Revolutionary heating materials like graphene offer superior air quality benefits compared to conventional heating methods. Unlike forced-air systems that circulate dust, allergens, and potentially harmful particles throughout living spaces, graphene heating systems operate without any air movement mechanism. This stationary heating approach prevents the redistribution of airborne contaminants that can trigger allergies or respiratory issues.
Additionally, graphene heating systems release negative ions that actively purify the surrounding air and eliminate unpleasant odors. This natural air purification process creates a healthier indoor environment without requiring additional filtration systems or maintenance. The absence of electromagnetic radiation further ensures that the indoor environment remains free from potentially harmful emissions that some traditional electric heating systems may produce.
Consistent temperature prevents health risks from cold spots
Future heating technology addresses a critical health concern through uniform heat distribution across all heated surfaces. Cold spots in living areas can create uncomfortable microclimates that may contribute to various health issues, including increased susceptibility to illness and joint discomfort. Graphene heating benefits include the elimination of these temperature variations through even heat distribution.
The high thermal conductivity and low thermal resistance of graphene ensure that heat transfers quickly and evenly across the entire heating surface. This consistent temperature maintenance prevents the formation of cold zones that traditional heating systems often create, particularly around windows, doors, or poorly insulated areas. By maintaining steady warmth throughout the space, occupants experience improved comfort and reduced health risks associated with temperature fluctuations and drafts.
Versatile Applications Throughout the Smart Home
Underfloor heating systems for whole-house comfort
Graphene-infused heating elements represent a revolutionary approach to whole-house comfort, delivering energy efficient heating solutions that outperform traditional systems. These heating elements are installed directly under flooring materials, working similarly to conventional underfloor systems but with superior performance characteristics. When electricity passes through the graphene element, it generates heat via electrical resistance, and despite graphene’s low resistance, its large surface area enables significant heat generation.
The exceptional thermal conductivity of graphene allows for rapid and uniform heat distribution throughout the home, translating into reduced energy consumption compared to traditional heating methods. Studies suggest that graphene heating systems can reduce energy consumption by up to 15% compared to conventional gas-powered systems. The rapid thermal response is particularly impressive – graphene can heat up to 60°C in just 60 seconds, ensuring quick comfort when needed.
Unlike traditional hydronic or electric underfloor systems that often require significant amounts of energy to maintain comfortable temperatures, graphene-based systems achieve the same level of warmth with lower energy input. This uniform heat distribution eliminates hot spots and irregular heating zones common in conventional heating systems, ensuring consistent comfort across entire living spaces.
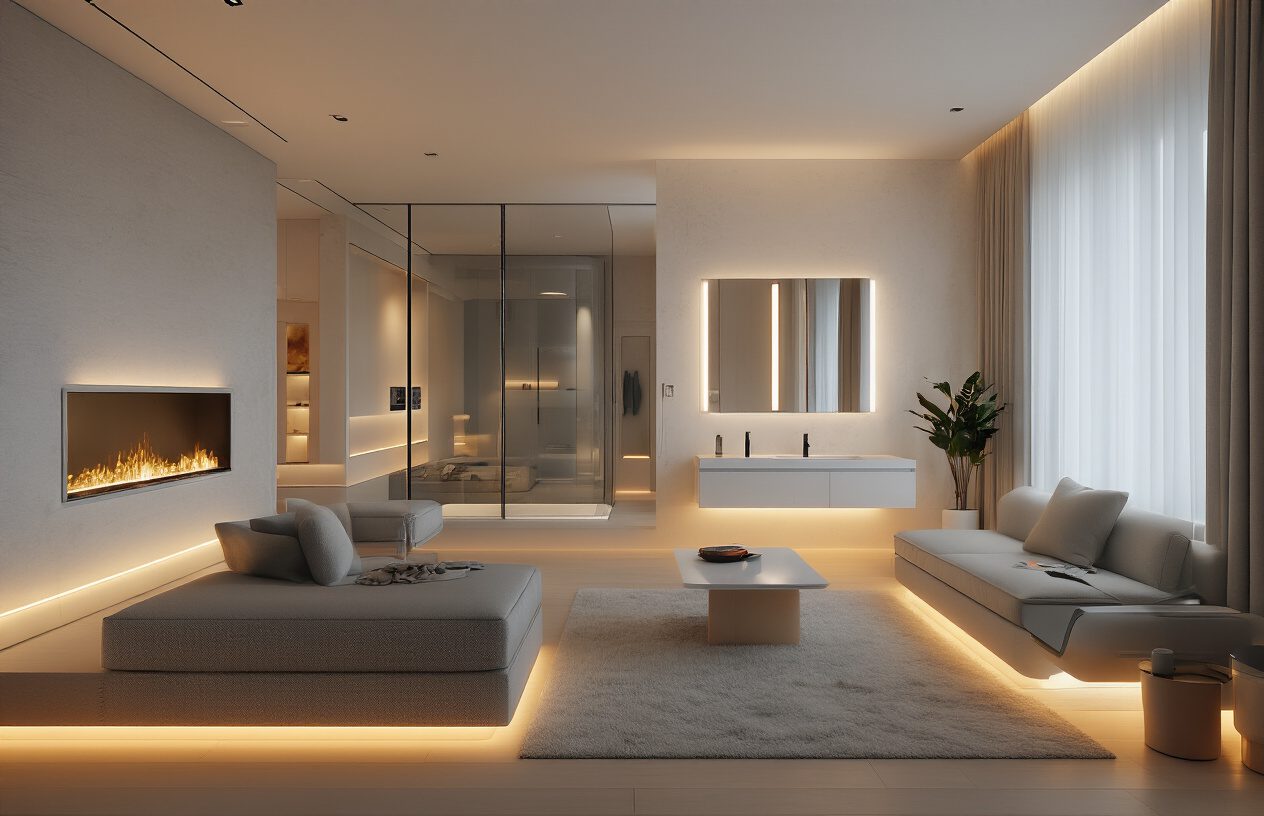
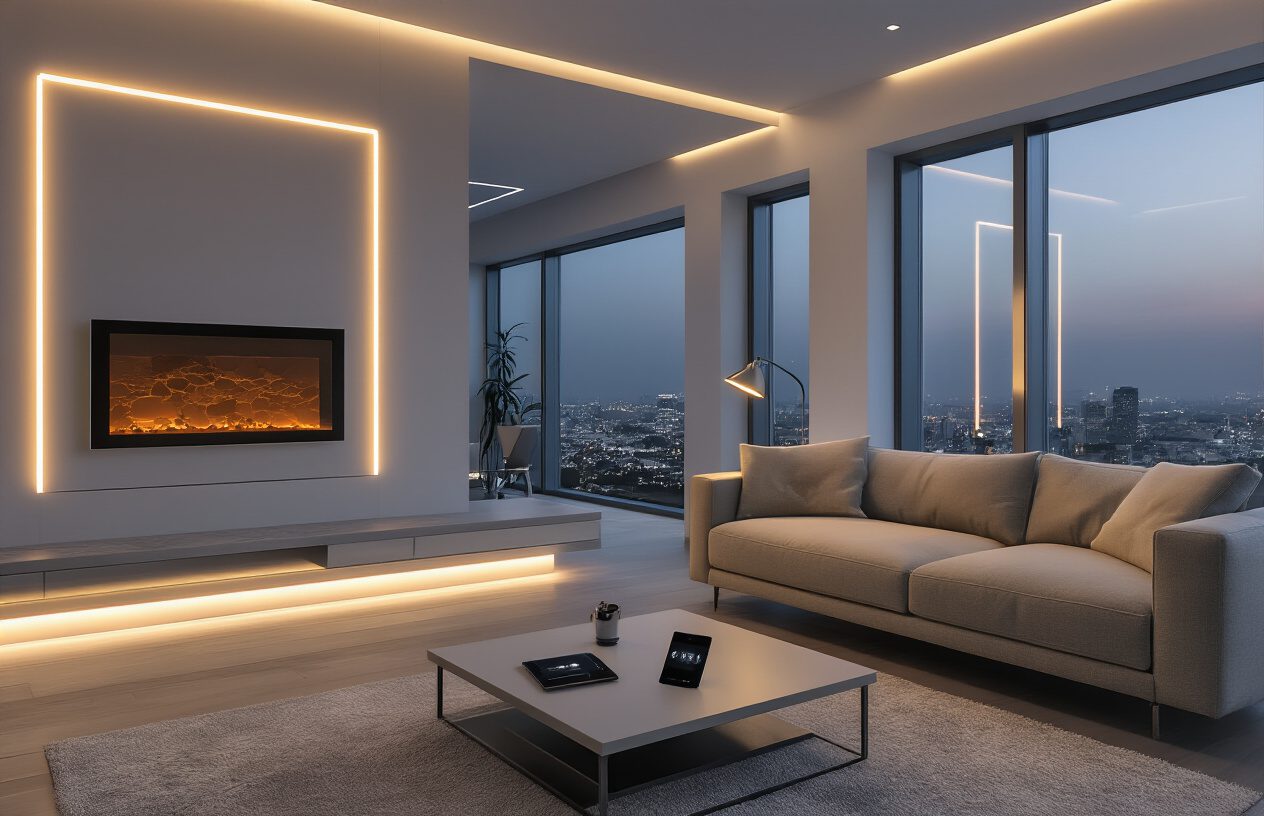
Wall-mounted panels for targeted room heating
Smart home heating technology extends beyond floor installations to include wall-mounted graphene panels that provide targeted heating solutions for specific rooms or zones. These panels leverage graphene’s remarkable thermal conductivity to deliver precise temperature control where it’s needed most, making them ideal for smart home automation heating systems.
The wall-mounted configuration offers flexibility in heating design, allowing homeowners to customize their heating approach room by room. The rapid heating capability of graphene ensures these panels can quickly respond to temperature adjustments, reaching functional temperatures up to 120°C when needed, though typical residential applications operate at much lower, comfortable temperatures.
The uniform heat distribution characteristic of graphene heating applications ensures that wall-mounted panels don’t create uncomfortable hot spots, instead providing gentle, consistent warmth throughout the targeted space. This makes them particularly effective for rooms with varying heating needs or areas that require supplemental heating beyond the primary system.
Heated surfaces in furniture and fixtures
Graphene heating benefits extend to innovative applications in furniture and fixtures, creating heated surfaces that enhance comfort and functionality throughout the smart home. This revolutionary heating material can be integrated into various surfaces, providing warmth exactly where occupants need it most.
The chemical inertness and moisture resistance of graphene make it particularly suitable for integration into furniture applications, ensuring durability and safety in everyday use. The material’s ability to reach high functional temperatures up to 120°C, combined with precise control systems, allows for safe integration into furniture while maintaining optimal comfort levels for users.
These heated surfaces can be programmed and controlled through smart home systems, allowing for personalized comfort settings that adapt to individual preferences and usage patterns. The energy efficiency of graphene heating technology makes these applications practical from both performance and cost perspectives.
Integration with smart building materials and cement
Future heating technology encompasses the integration of graphene heating systems directly into building materials and cement, representing the next evolution in smart home energy efficiency. This approach embeds heating capability into the very structure of the home, creating a seamlessly integrated heating solution that works invisibly within walls, floors, and other structural elements.
When coupled with advanced thermostatic controls and proper insulation materials, graphene-infused building materials can enable accurate, programmatic heating in both residential and commercial applications. This integration supports the mission toward net zero emissions by providing efficient heating solutions that can work in harmony with renewable energy sources.
The versatility of graphene heating applications in building materials opens possibilities for comprehensive heating strategies that go beyond traditional system boundaries. By incorporating heating capability into the building’s infrastructure, homeowners can achieve unprecedented control over their indoor environment while maintaining the aesthetic integrity of their living spaces.
Future-Ready Technology for Modern Living
Compatibility with renewable energy systems
Graphene heating systems represent a paradigm shift in future heating technology, demonstrating exceptional compatibility with renewable energy sources. The revolutionary graphene paint developed by BeDimensional SpA achieves remarkable energy efficiency, consuming only 35 W/m² at full capacity while delivering superior performance compared to traditional electric radiators. This low power consumption makes graphene heating systems ideal partners for solar panels, wind turbines, and other renewable energy installations.
The technology’s ability to provide up to 40% energy savings compared to conventional electric heating systems means that smaller renewable energy setups can effectively power entire heating systems. Building-scale simulations have demonstrated that graphene heating outperforms heat pump systems in terms of annual energy consumption and operating costs, making it a competitive choice for sustainable smart home heating technology.
Self-sensing capabilities for predictive maintenance
Modern graphene heating systems incorporate sophisticated self-monitoring capabilities that enable predictive maintenance strategies. Laboratory tests conducted by BuildTech confirm the technology’s electrical stability and coherent response between absorbed power and obtained temperature. This real-time monitoring capability allows the system to detect performance variations and current fluctuations instantaneously.
The system’s quick response to current variations enables early detection of potential issues before they become costly problems. Unlike traditional heating systems with mechanical components that require regular maintenance, graphene heating operates without moving parts, significantly reducing maintenance requirements while providing continuous performance feedback for optimal smart home automation heating integration.
Wireless connectivity eliminates complex wiring
The installation simplicity of graphene heating systems revolutionizes smart home integration by eliminating complex wiring requirements. The graphene paint technology requires only simple copper electrodes for electrical connection, dramatically reducing installation complexity compared to traditional heating systems. This streamlined approach installs like regular paint and adapts perfectly to common building materials, from drywall to sandwich panels.
The absence of mechanical components and simplified electrical connections reduces both installation costs and time requirements. This wireless-friendly design offers significant advantages for smart home energy efficiency implementations, allowing for seamless integration with existing smart home ecosystems without extensive rewiring or structural modifications.
Scalable solutions from single rooms to entire buildings
Revolutionary heating materials like graphene paint offer unprecedented scalability, adapting from single-room applications to comprehensive building-wide heating solutions. The technology’s versatility allows implementation in residential, commercial, and industrial settings, making it suitable for both new construction projects and renovation applications.
The modular nature of graphene heating systems makes them particularly well-suited for prefabricated construction and lightweight building systems. Critical environments such as bathrooms, kitchens, and basements benefit especially from direct surface heating, which prevents condensation and mold formation. This scalability ensures that smart home heating technology can grow with changing needs, from individual room upgrades to whole-building transformations, providing consistent performance across all applications while maintaining the aesthetic freedom that comes with invisible heating systems.

Graphene heating technology represents a pivotal shift in how we approach smart home comfort and energy management. With its superior energy efficiency, instant heating capabilities, enhanced safety features, and seamless integration with smart home systems, graphene is proving to be far more than just a scientific breakthrough—it’s a practical solution that delivers real benefits. From underfloor heating systems that distribute warmth evenly throughout your home to flexible heating elements that can be embedded directly into building materials, this revolutionary material is transforming every aspect of residential heating.
The future of smart homes is already here, and it’s powered by graphene. As this technology continues to mature and become more accessible, homeowners who make the switch now will enjoy lower energy bills, improved comfort, and the peace of mind that comes with future-ready technology. Whether you’re building a new smart home or upgrading your existing heating system, graphene heating offers an investment in both immediate comfort and long-term sustainability that positions your home at the forefront of modern living.


